Sunday, October 15, 2017
Keepin' it spice-y!
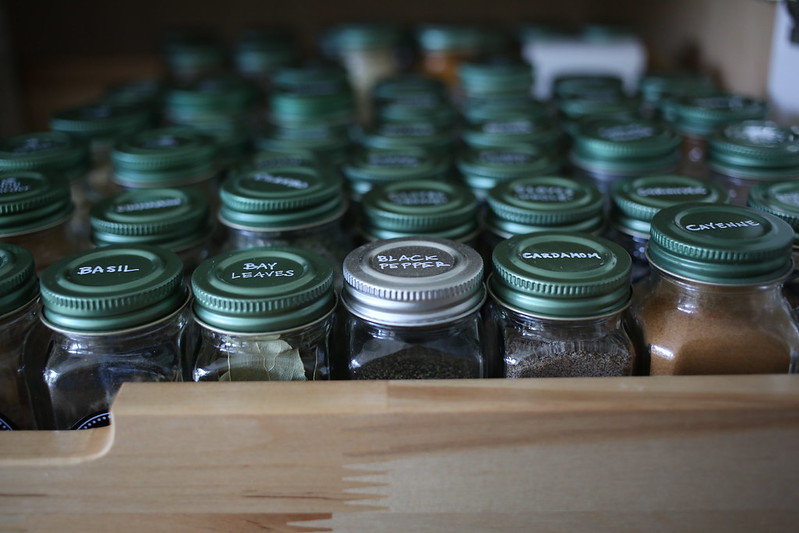
Let's talk spices!! I've already waxed poetic about some of my favorite spices (smoked paprika and sage, anyone?), so I won't get into the nitty gritty too much here. You can see my whole collection below (all 42 bottles!). When I first began regularly cooking for myself about ten years ago (and discovered all of Isa Chandra's amazing, but oftentimes complex recipes), the most expensive part of many meals was simply buying the spices required. Flash forward nearly a decade, and--because I cook with these ingredients so frequently--it's actually a more rare occasion in which I need to buy a spice in order to complete a recipe. This also makes it very easy to get creative when I'm whipping something up myself.
How do I keep track of all of these spices, you ask? I thought quite a bit about this when we moved and had a new kitchen to work with. I wanted a uniform system for keeping everything organized, and I wanted to be able to see--at a glance--where everything was. I hunted around on Amazon for a while. You can buy pre-printed spice labels which may be the way to go if writing by hand doesn't appeal to you. These can be adhered to the top and/or front of most spice bottles (just check your dimensions!). Regardless, you'll need to label a few of your more exotic spices yourself (many label companies provide a few blanks for this purpose). I love the hand-labeled look, and had a lot of fun labeling these myself! I just bought some 4oz glass spice jars with green lids from Amazon (they've got black, silver, and gold lids as well if those are more your style), similar in size to the Simply Organic bottles. I used a fine-tipped permanent white pen to write on the lids. Pretty simple. I love being able to look at these from above and know exactly where everything is and what I've got on hand. They're also alphabetized, for added convenience.
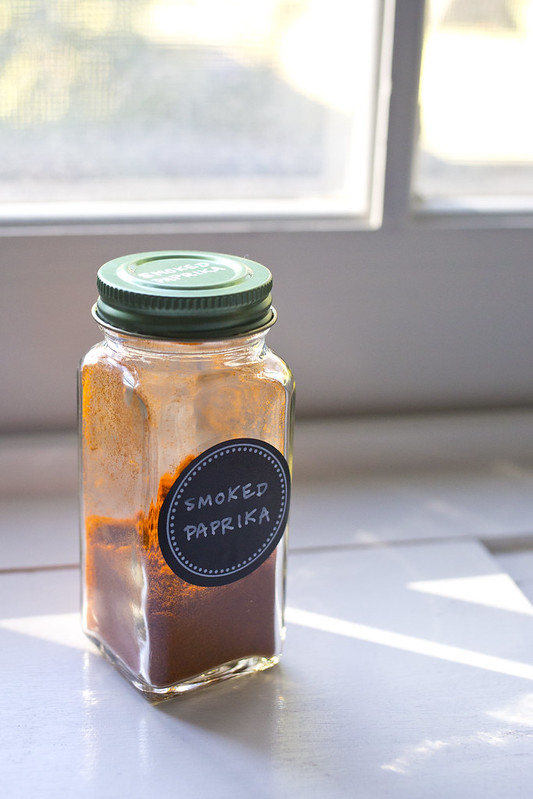
What about if you've taken off the lids? For that, I've labeled the fronts of the jars as well. I used these chalkboard stickers that are removable/repositionable but I stuck with the same permanent pen because I know I won't be changing out these bottles much.
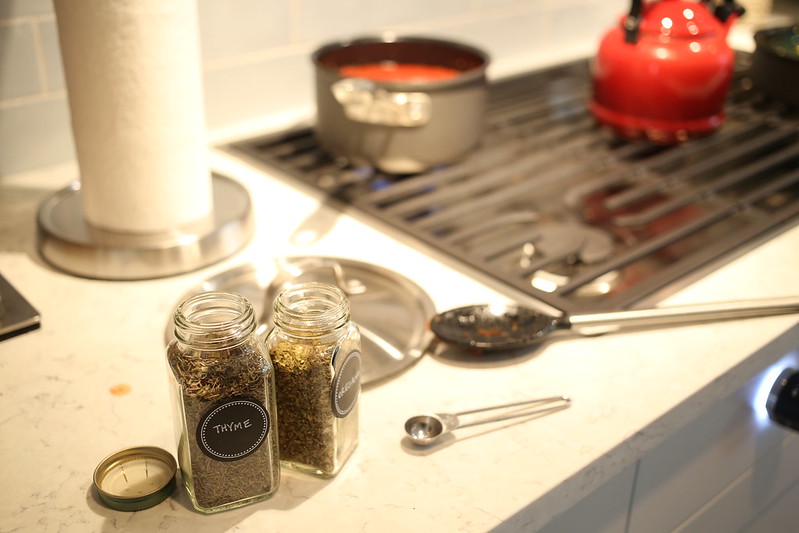
Works great!
Okay--looking at all these spices is so fun--let's do a quick run-down
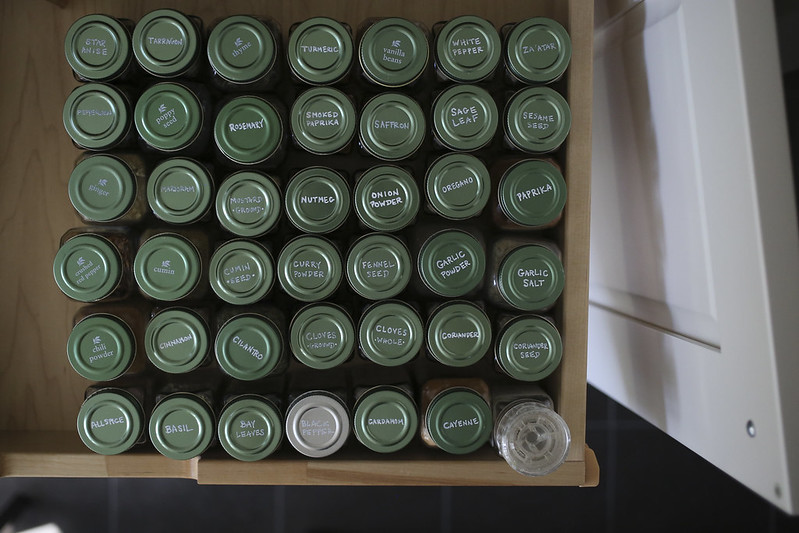
It's fall, so let's start with our autumnal baking spices: that'll be allspice, cardamom (also commonly used in Indian and Middle Eastern cuisine), cinnamon, cloves, nutmeg and ginger (which is also of course a regular in Asian cuisine--think marinades, stir fry, or as a sub for fresh ginger in a pinch). Then we have our frequently used (in my kitchen!), herbs and spices--basil, cilantro, crushed red pepper, oregano and let's throw sage, rosemary, and thyme in there, too. Marjoram is slightly more subtle than oregano. Tarragon is common in French cuisine and has an aromatic quality (like a very subtle anise). Garlic powder and onion powder are pretty straightforward, and my garlic salt is garlic powder, salt, and some basil and oregano. Bay leaves are great for soups and stocks (though fresh leaves are all the better, if you can manage). Black pepper is pretty straightforward; white pepper is actually just black pepper with the outer layer removed. Its commonly called for in Chinese cuisine--it's hotter, but the actual flavor complexity is a little more subtle than black pepper.
You're likely familiar with cayenne, chili powder and paprika. Cayenne tends to be pure ground peppers--it's the spiciest of the three, whereas chili powder sold in the US is often a mix of peppers and other ingredients (such as cumin, oregano, and garlic powder). And paprika is made from a very mild pepper, though there are many different varieties available. Coriander (in the US at least) generally refers to ground cilantro seeds--this ones a little hard to describe but it's a little citrusy--it is common in Indian cooking (great addition to samosas and curries). And it also pairs well with cumin in Mexican cuisine. I like adding cumin and coriander to my fried beans for tacos! Cumin is a bit nutty (literally), and actually originally comes from Asia. Its made its way around the globe, and is also found in Indian and Middle Eastern cooking. Turmeric is also common in Indian cuisine (curries, samosas, rice), and is supposed to have many great health benefits. It's a great addition to tofu scramble because it adds a nice flavor but also a beautiful yellow coloration. Saffron also imparts a yellow color and an incredible, subtle aroma (this spice is so complex it warrants a much larger discussion--I'll direct you here to read even more about it).
Fennel seed has a sweet, subtle flavor (similar to anise), and is often used in spice blends (so good for homemade vegan sausage!). Star anise is different from anise, but similar in flavor, and is commonly used in Chinese and Indian cuisine. If you're cooking with the whole seed pods they impart a lot of flavor, but are hard and not edible (should be removed from your sauce before serving).
I also love using za'atar--a delicious Middle Eastern spice blend. I highly recommend the shaved brussel sprouts with za'atar in the Crossroads cookbook. If you're looking for something simple, za'atar is great in a little olive oil with pita and hummus as well. And sesame seeds and poppy seeds are always good to have on hand. They're great for baking (nice for topping bread, or of course poppy seed muffins), and I also love putting toasted sesame seeds on top of my stir fry for a little extra flavor.
I think that covers just about everything! Most importantly, don't be intimidated by your spices. Once you've used something in a recipe a few times, you'll likely have a feel for how it may add to a dish. But you can also always open up that jar, give it a smell, and even a taste! Throwing in a dash of this and that here and there can be a lot of fun--and lead to some exciting and tasty new dishes.
Wednesday, October 11, 2017
Kitchen Tour, Part 2!
You may recall I wrote up an extensive kitchen tour of my Brooklyn apartment two years ago.
In brief summation, it went a little something like this...
The first kitchen I had all to myself was in Los Angeles while I was in graduate school, and my kitchen storage situation consisted of the use of half of my closet for my kitchen wares!
The following year, I moved to Manhattan, where storage space improved slightly, but counter space was a 12" square section of formica in the kitchen, the entirety of which is captured in this image:
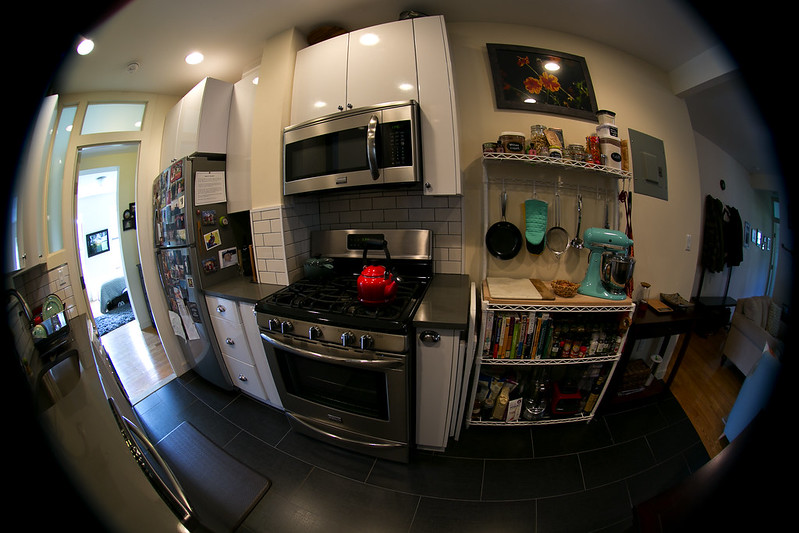
Several years after that, we moved to Brooklyn, where I felt I had really struck gold. Our kitchen was awesome! Galley style, but also open to the rest of the apartment. And more space than I'd ever expected for city living.
Here it is captured in two funky fisheyes:
So. Much. Cabinet. Space. Or so it seemed!
This year, we moved north of the city--to an actual house!!
We did a little renovation, and now have what you could call my dream kitchen. It's pretty. Amazing.
What are my favorite parts of the kitchen? Honestly, it's all about the details. I love our pull-down faucet. You can toggle between a regular flow and a spray, and you can pull the hose down to make it stay in place--it makes washing things a breeze.
The drawer storage we have is really helpful--large drawers are great for big pots and pans. And pull-out shelves are also a huge help in some areas.
And I love our hood--it's way more powerful than our dinky old microwave extractor was, and--a key factor here for using a grill pan--there is not a smoke detector located directly above our stovetop anymore! (Don't ask me what our Brooklyn landlord was thinking...clearly not about cooking!)
We also got some wonderful quartz counters which are beautiful, super durable and very low maintenance--we absolutely love them!
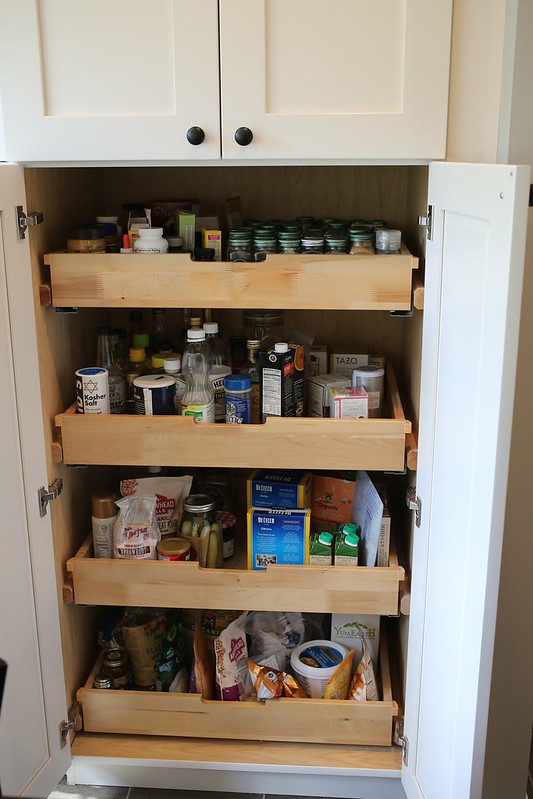
And I love our pantry!
Pull out shelves are so amazing! It allows you to access everything so easily breezily. And that's so key when you're in the middle of whipping something up!
I could go a little further into gadgetry here, but I did that last time. I think the key to a functional kitchen--no matter how big or small--is to really think about the layout--particularly in terms of where everything is stored. That's been a big part of our kitchen organization. Baking sheets and pans by the oven, pots and skillets by the stove, frequently used silverware and dishware all in one place, and the less frequently used stuff--high and away (that's the step ladder worthy stuff!). Even the pantry has a very specific system (more on spices in an upcoming entry)! Seems simple enough, but it can make a real world of difference!
Tuesday, October 10, 2017
Smoked Paprika: My Favorite (Sometimes Secret!) Ingredient
Today for the vegan month of food we're talking all about our favorite "secret" ingredient...that thing you like to sneak into a recipe to give it a little extra goodness!
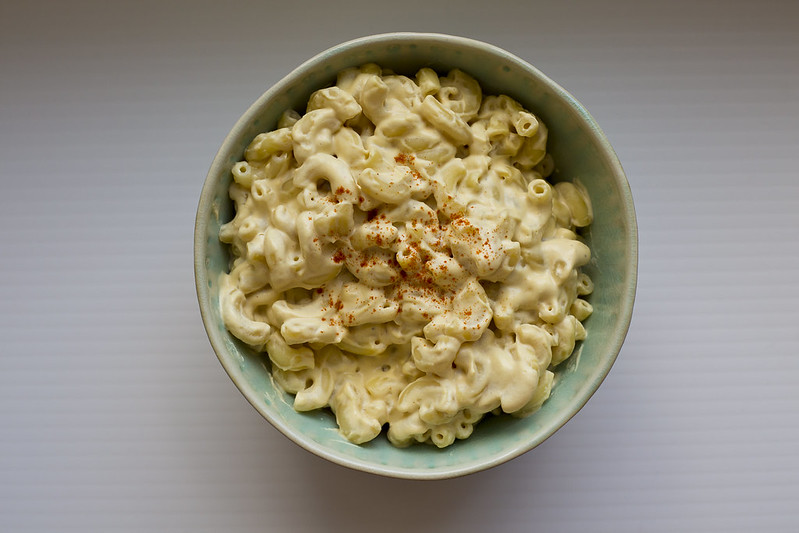
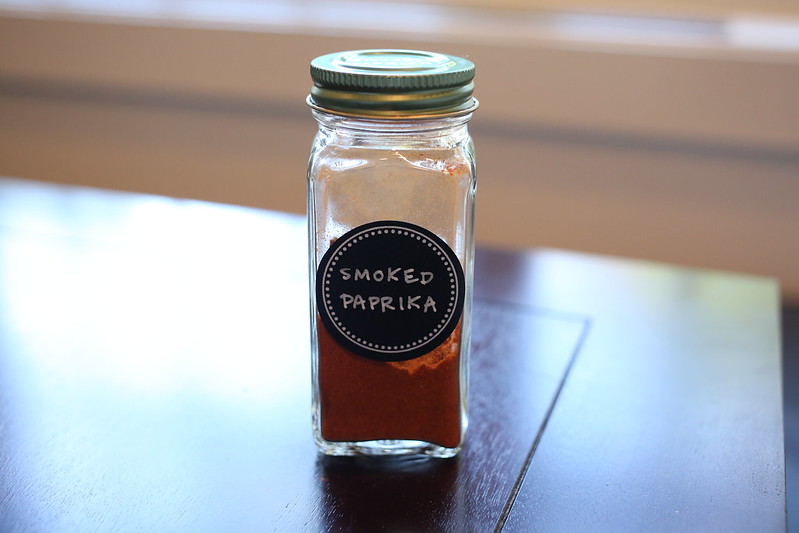
I can't remember exactly when I was introduced to smoked paprika...but it's been a real staple in my pantry ever since. I love to use it to bring a little bit more depth of flavor to dishes...whether it's something specifically smoke-y like my smoky mac 'n cheeze, or for a little extra flavor on my sweet potato fries or roasted chickpeas. It's a great spice to have on hand, and I recommend giving it a try, if you haven't already!
Do you ever use smoked paprika? What are your recommendations?
Monday, October 9, 2017
The Vitamix: My Kitchen Essential
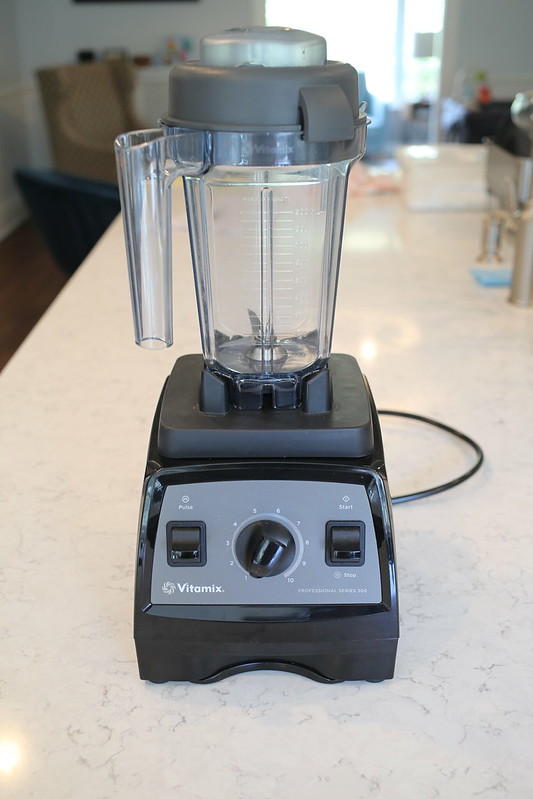
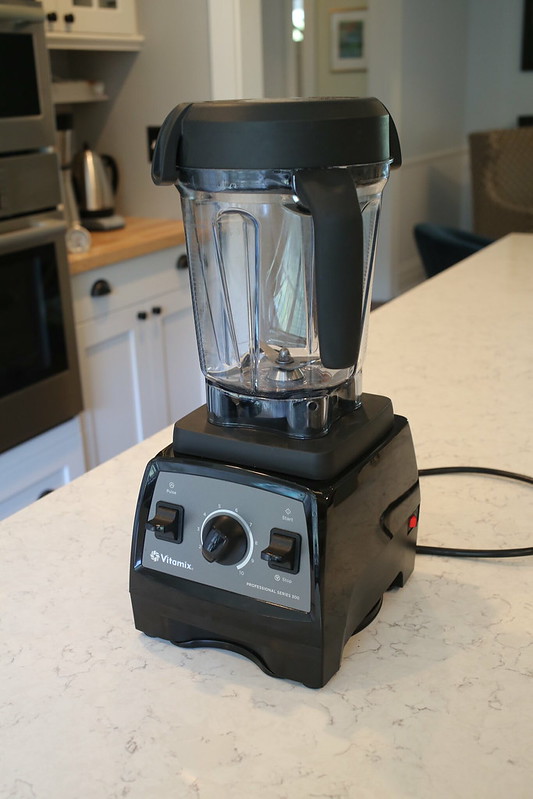
What's my go-to kitchen gadget essential? Definitely my Vitamix! I was recently gifted this gorgeous blender--which is an update from the previous Vitamix model I had. It has an even more powerful motor (2.2HP!) that's somehow even quieter. Blends like a true dream. And even comes with a super large (64oz!) container (pictured below)--great for when you're making soups, family-size batches of anything, or whipping up large amounts of food for a little entertaining.
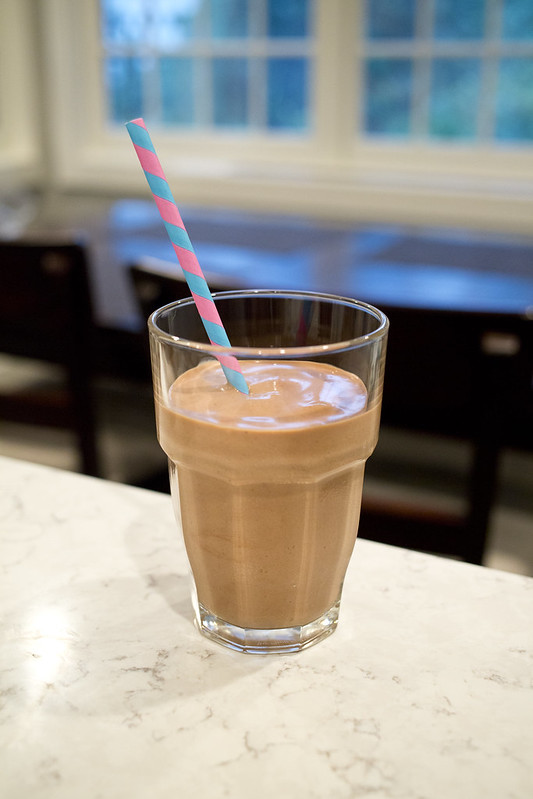
Of course, the first thing that comes to mind when you think blender is smoothie! And rightly so. It takes about 20 seconds to whip up a smoothie in the Vitamix. And when you're done, you just add a touch of soap and fill the container half way with hot water, blend for 60 seconds, and you've got a clean blender! Not bad at all. My frequent regular smoothies are a banana berry smoothie, and a peanut butter banana smoothie (with a touch of chocolate), but there are so many other delicious options (like green smoothies!). And the Vitamix is also great for making frozen drinks and sorbets. The Vitamix comes with a fabulous recipe book with an impressive variety of ideas. So far everything I've tried has been delicious!
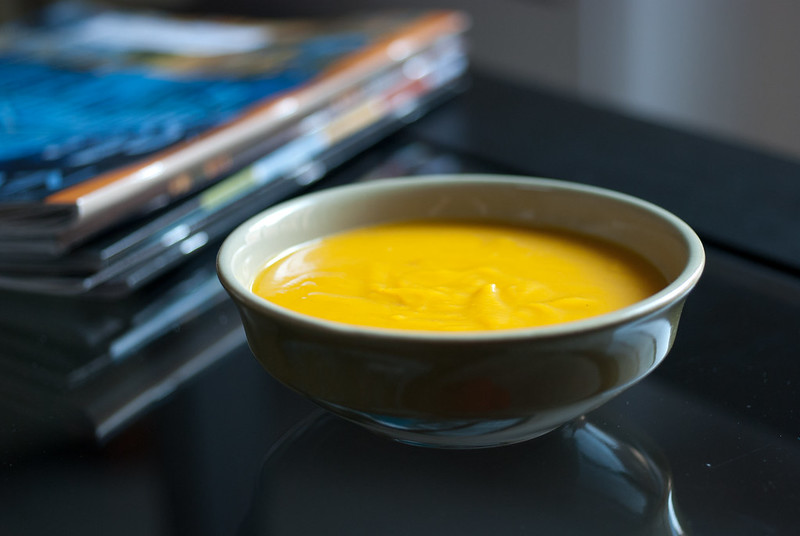
In the winter time, the Vitamix gets pretty heavy use in our home for soups (follow the link for some of my recommendations)! Again, too many great options here to count. One of my all time favorites is butternut squash soup. The Vitamix allows you to vent steam as you blend, so you can make pretty much anything in here. And, if you blend for several minutes, it will actually create heat!
The Vitamix is also a whiz with dips and spreads--pretty much anything you can think of, it can blend! If you're looking for some dip ideas--I love the curried carrot dip from Veganomicon, as well as the white bean aioli!
As far as dressings and sauces go this blender is great for any and everything you can imagine. If you're making nut-based pasta sauce, the Vitamix is a real life saver. Cashews are transformed into a smooth and creamy sauce in under sixty seconds. And you won't have to worry about anything chunky or gritty remaining when you're done blending. A high-powered blender is a real must if you're interested in making your own vegan cheese!
Vitamix also states their blenders are great for mixing batters and doughs, making juices, nut butters, flours, baby food, and non-dairy milk. I've yet to try these out. I think I'll try my hand at making some almond milk next. Can't wait to give it a whirl--pun intended!
Sunday, October 8, 2017
Salad Time!
When it comes to salad options, there is no shortage of fun, filling, and delicious recipes for plant-based dining.
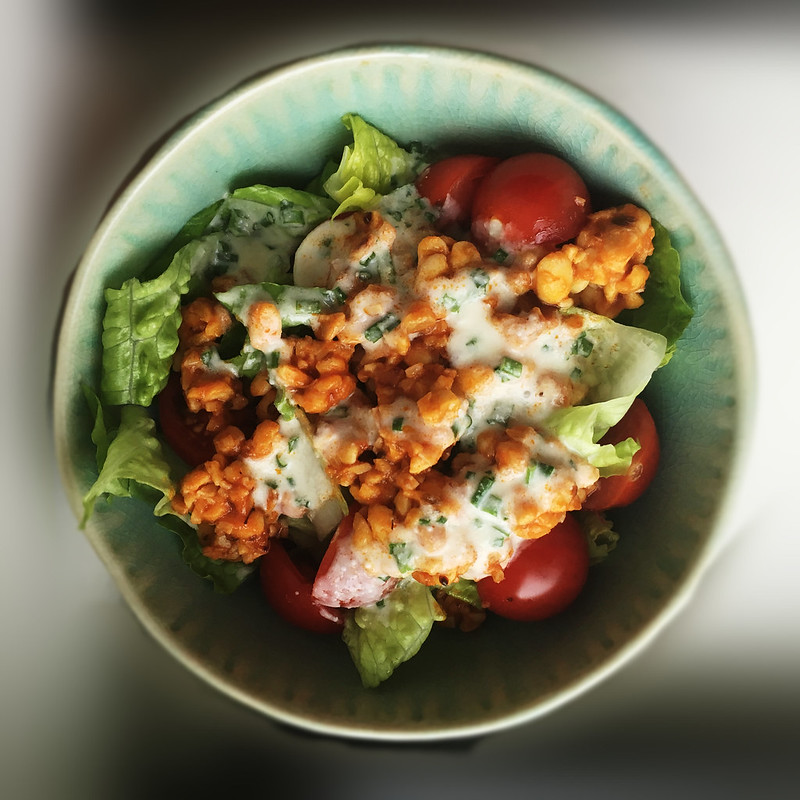
The recipe for the ranch salad with buffalo tempeh pictured above comes from Isa Chandra's site. It is filling and--equally as important--packed full of flavor.
One of my favorite recipe books is Salad Samurai, by Terry Hope Romero. With a variety of hearty options, and organized by season (so that the produce you use in each salad is at its best) this book really has it all. I've yet to be disappointed with a recipe. Some are certainly more time intensive than others, but all yield extremely satisfying results. I brought the blueberry tamari greens bowl to a work party and it was a smash hit, and I've made the green curry lentil quinoa salad for a gluten-free friend (delicious!). More recently I made the smokehouse chickpea salad, which my husband and I devoured. Many of her recipes call for the use of a grill or cast iron grill pan--and these are some of my favorites: the roasted corn salad with avocado is the perfect summer salad, the fiery fruit and quinoa salad kind of blew my mind, and the pesto cauliflower and potato salad? Incredible!
Friday, October 6, 2017
Vegan Cheeze-a-licious
Today for the Vegan Month of Food we're talking all about vegan cheeze!
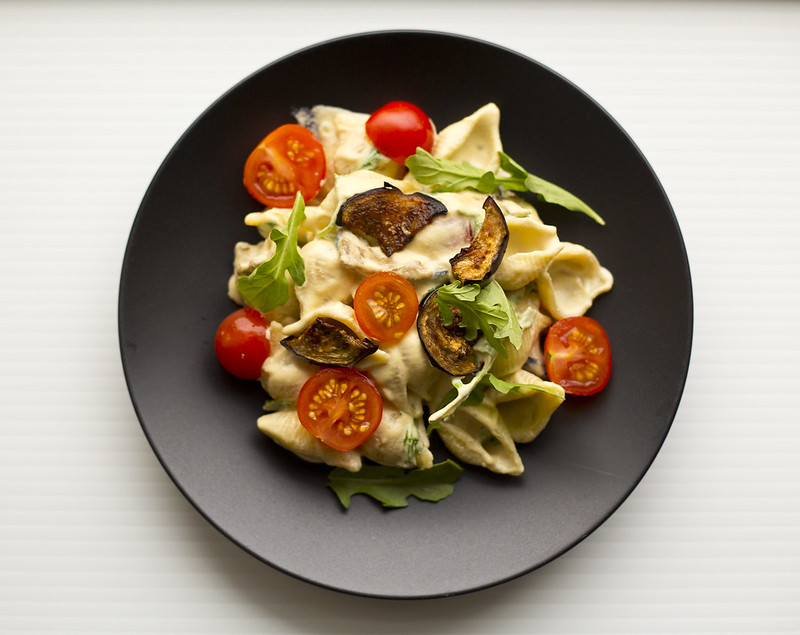
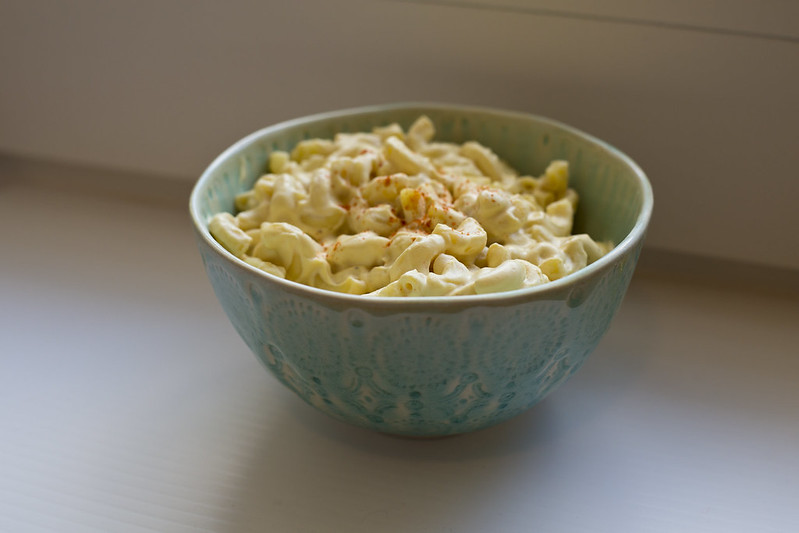
I wanted to go over some of my personal favorites, starting with the recipe above which is one of my go-tos for vegan mac and cheeze. The recipe comes from Isa Chandra, for her BLT mac and cheeze (complete with tomatoes and eggplant "bacon"). The sauce is cashew-based and creamy, and you'll have to work hard not to devour the eggplant before it gets added into the pasta!
Inspired by Isa's recipe, and a smoky mac I had at an NYC restaurant, I developed a smoky mac and cheeze that I also love, which involves a little liquid smoke for a flavor kick.
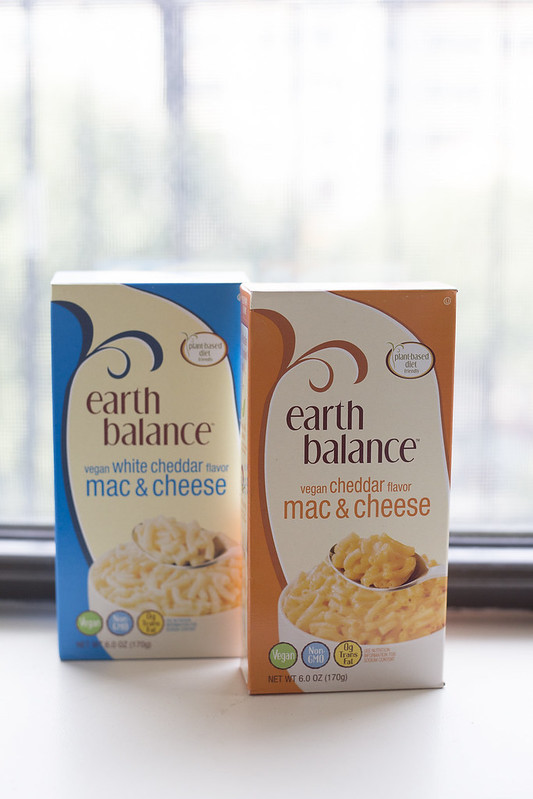
Don't have the time (or the blending power) to make your own cashew-based macaroni and cheese? How about trying out the instant mac and cheeze from Earth Balance. It's sort of like the Kraft mac 'n cheese of the vegan world--although I think it's even better!
You can often find these at Whole Foods, or from online retailers like Thrive Market.
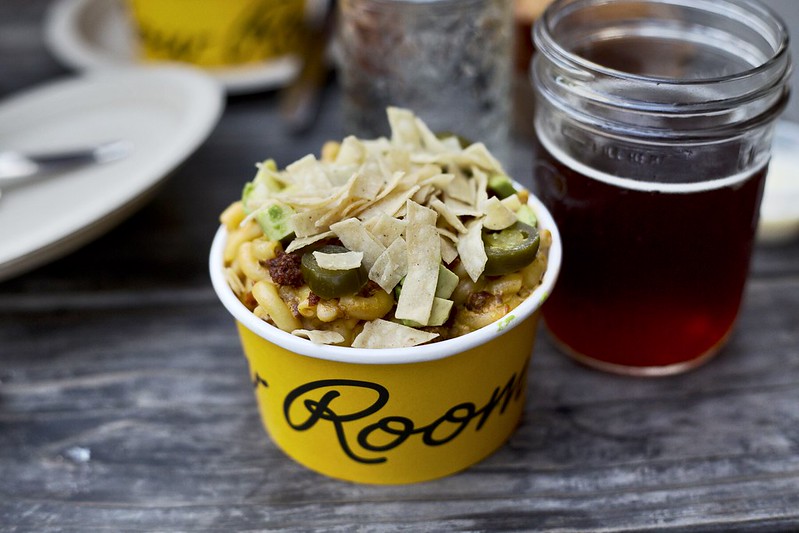
If you're looking to have someone else make the mac, and you're in the New York area, I recommend going to Morgan's in Brooklyn. They have a delicious vegan mac with avocado, veggie chorizo and jalapeños!
Looking for vegan cheeze you can order online? Miyoko's Kitchen has some super amazing cashew-based options that are the best I've ever had (they also have a mac and cheeze sauce!).
For the ambitious home cook, Miyoko also has an amazing cookbook (Artisan Vegan Cheese) with recipes for cheeses you can make at home. Many involve creating your own culture (which is a lot of work, but very rewarding!).
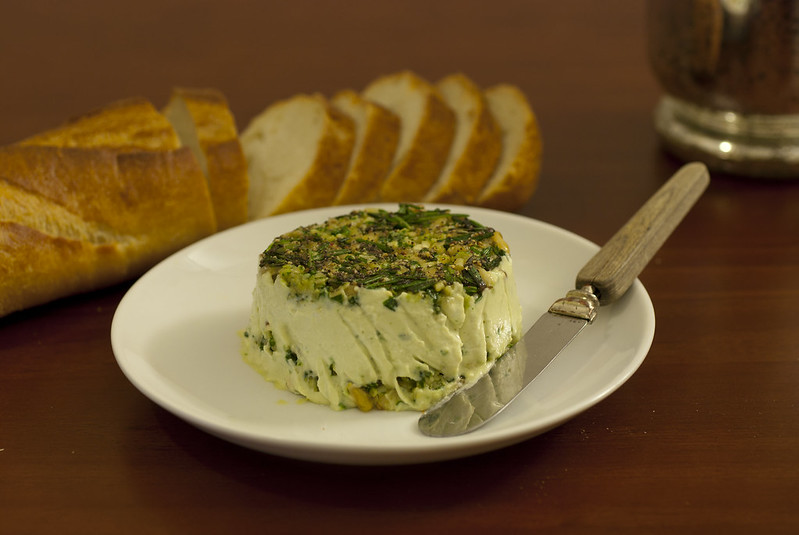
For a simple cheese you can create in an afternoon, one of my favorites is this "goat cheese" from the Fork and Beans blog.
If that sounds like too much work and you're in the New York area, there are some great vegan pizza options!
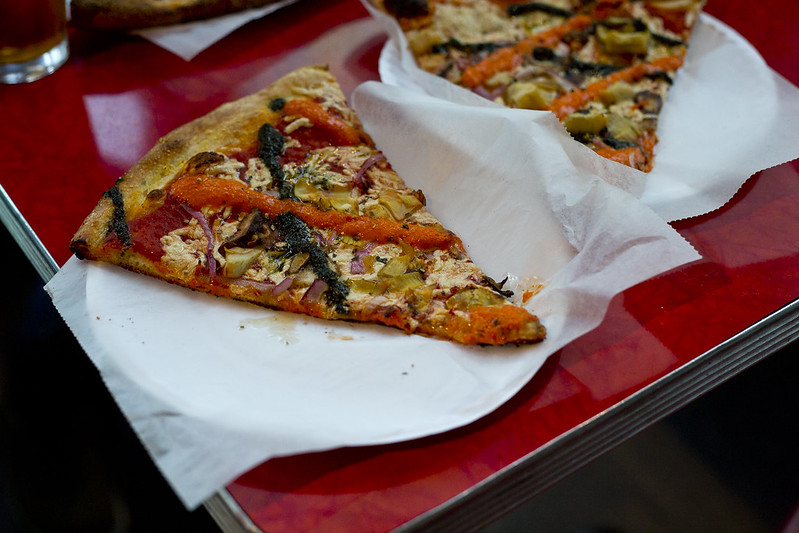
I love Two Boots' V is for Vegan pizza--you can read more about it here.
What are your favorite vegan cheezes? I hope you have a chance to try one of these! I'm getting hungry just looking at them!
Tuesday, October 3, 2017
Protein-packed vegan dinner bowl
What's one of the most common questions someone adhering to a vegan diet gets asked?
But where do you get your protein?
So today, we're talking a bit about protein. There are all kinds of great plant-based options out there.
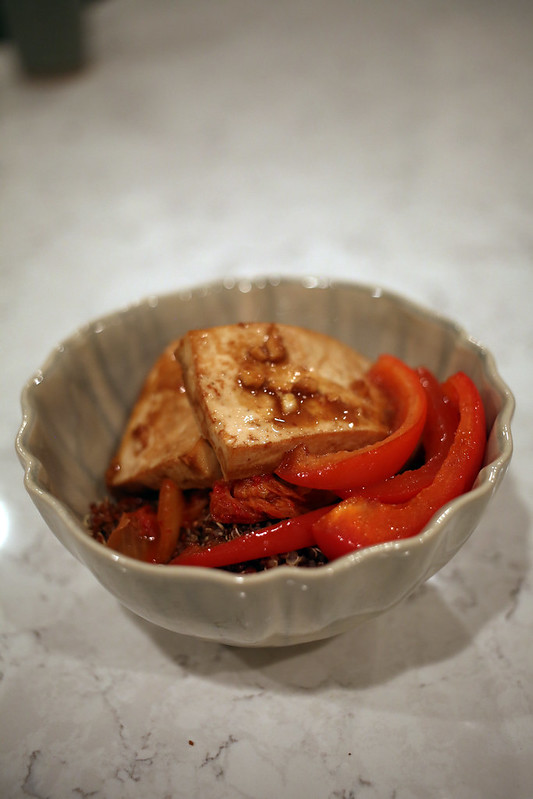
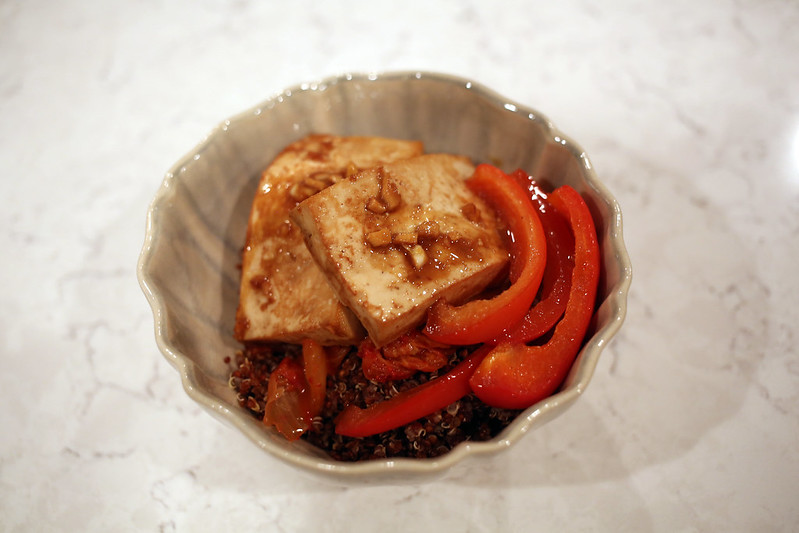
One is the quinoa bowl with miso-glazed tofu, pictured above.
Soy--in the form of tofu, tempeh, or edamame--is one of the more well known plant-based protein options. Seitan is also a fabulous protein source (check out my seitan in a balsamic red wine reduction, here; or a seitan pot roast option, here), as are quinoa, beans, peanut butter, chia seeds, and hummus. If you're looking for slightly more processed food, there are a lot of options as well. These days you can find many varieties of vegan meat alternatives at natural food stores. One of my favorite vegan sausages that you can buy off the shelf are called Field Roast, and they make great frankfurters, deli slices and burgers as well.
For more information about some of these foods, check out one of my past Vegan MoFo entries, here.
Looking for something sweet? I recently discovered a fabulous recipe for protein-packed cookies with peanut butter and chia seeds from Ashley Wood.
And the recipe for the bowl pictured above? It comes primarily from the NY Times.
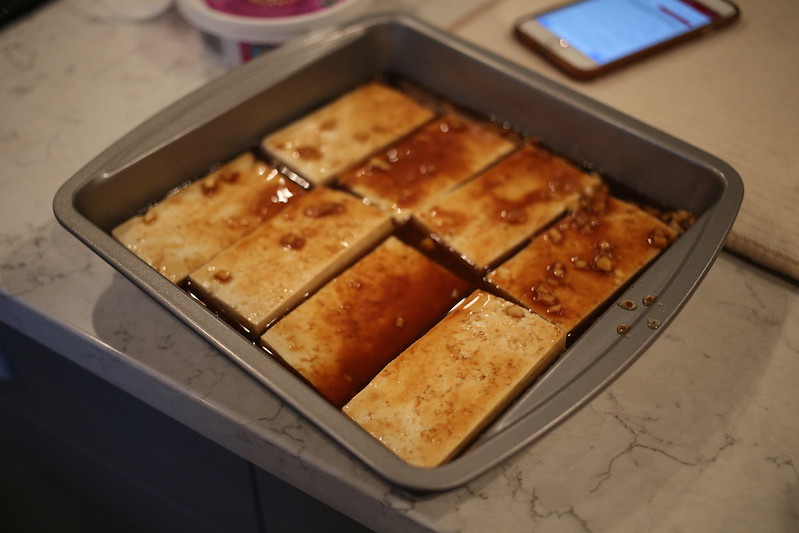
It essentially involves marinating some tofu, then dipping red peppers in the marinade and roasting both in the oven.
Put that over a bed of kimchi and quinoa, and you're good to go! The recipe actually calls for brown rice, but I like the additional protein you can get from substituting the quinoa. Now get out there, and enjoy your protein!
Monday, October 2, 2017
Ice Cream: My Favorite Vegan Junk Food (Vegan Mofo Day 2)
If you know me, you probably know I've got a sweet spot (pun intended) for ice cream!
Luckily, if you're looking for vegan options--there are a lot these days.
In the New York area, lots of ice cream shops have some really wonderful options (Ample Hills, anyone?). And I've definitely dived into the world of making homemade vegan ice cream as well.
But if you're really looking to satisfy your junk food craving, you're likely interested in picking up some ice cream at your local store. Most natural food stores have a good selection these days, and you can often find a few options at general super markets at well. Various types of vegan ice cream can have their own pros and cons, so you'll want to be aware of what different varieties have to offer if you're looking for vegan ice cream at the grocery store.
Here are a few options:
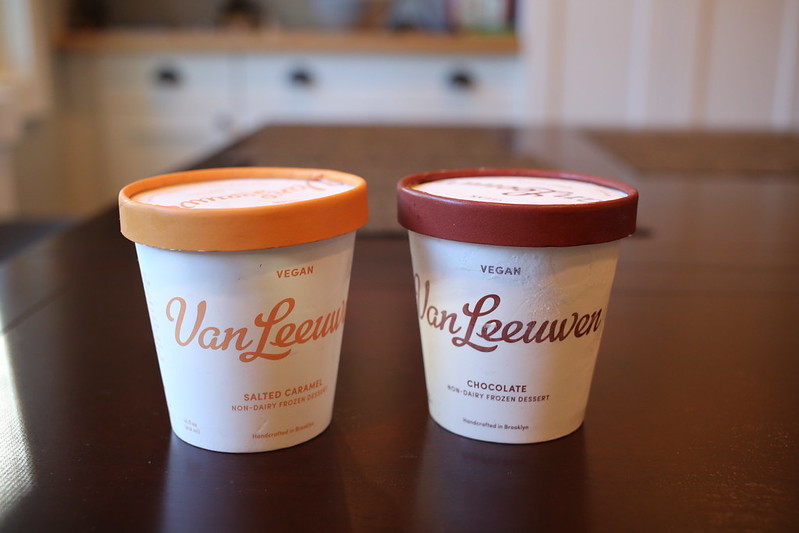
Crowd favorite: Van Leeuwens
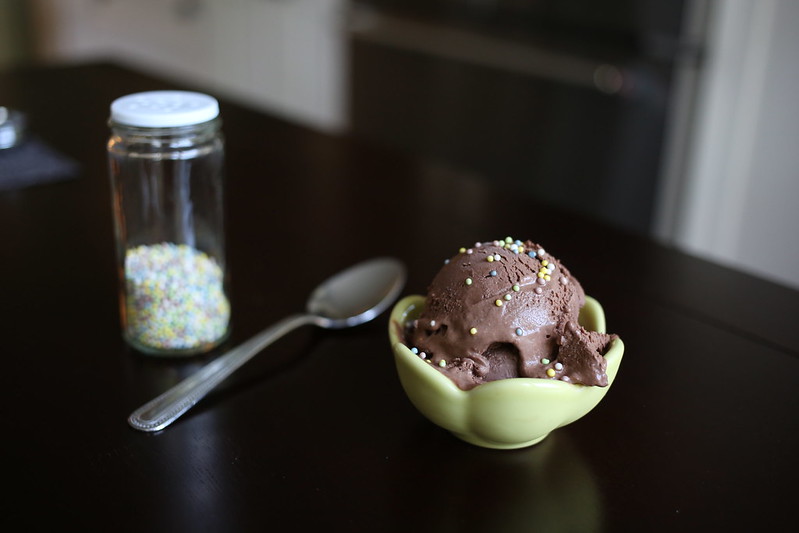
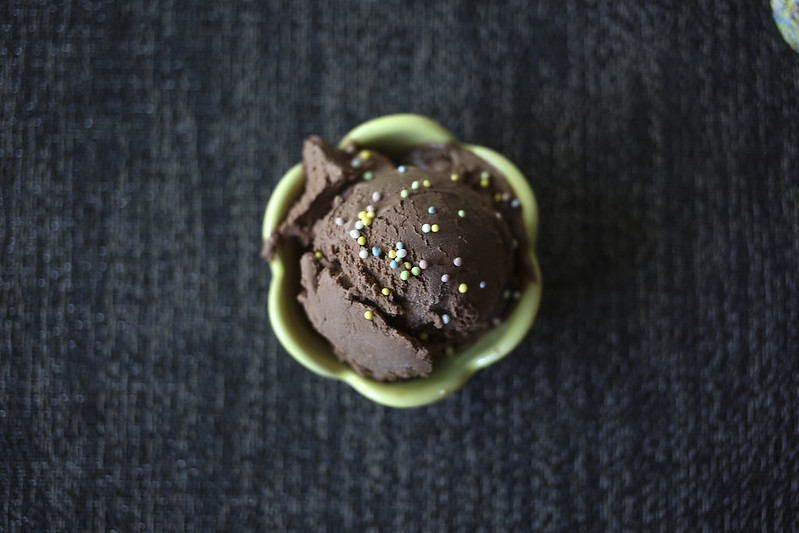
Van Leeuwens has both dairy and vegan options available, so you'll have to be sure to check the label--but their vegan offerings are very clearly marked. Varieties I've tried include their sea salt caramel, mint chip, cookie dough and chocolate (pictured at the top of the page, and below). You can see their site for all of the flavors they offer.
My husband takes issue with certain non-dairy ice creams, but this is one that he will happily eat. Like many vegan ice creams, they use coconut milk, but perhaps because of the use of cashews as well, the coconut isn't too overwhelming. The salted caramel is a bit sweet for me, but it's definitely a classic salted caramel flavor. The chocolate is excellent, with a very slight (almost imperceptible) nuttiness to it. The mint chip is amazing--I love using it for milk shakes. The cookie dough has the strongest coconut flavor, because that often comes through in the vanilla vegan ice creams, as it's masked more strongly by chocolate and other flavors. We were able to find this at our local natural food store in Brooklyn, and also at Whole Foods, and they also offer online ordering. You can order six pints for $89 (with free shipping). This is the same cost as their regular pints--on the pricier side, but definitely delicious!
Ice cream sandwiches: Tofutti cuties and Lil Dreamers
Tofutti cuties are another very popular vegan ice cream option. These are a classic little ice cream sandwich. You can read more about them in an older post of mine, here. This company also makes an excellent ice cream drumstick called Yours Truly by Tofutti.
If you're looking to avoid a soy-heavy ice cream, however, Almond Dream has come out with their own ice cream sandwich--Lil' Dreamers. They're a slightly different texture (not quite as creamy), but very similar tasting, and not particularly nutty. They come individually wrapped--very easy when you're looking for a little ice cream fix! These are also free of coconut milk--a rare find in the vegan ice cream world these days.
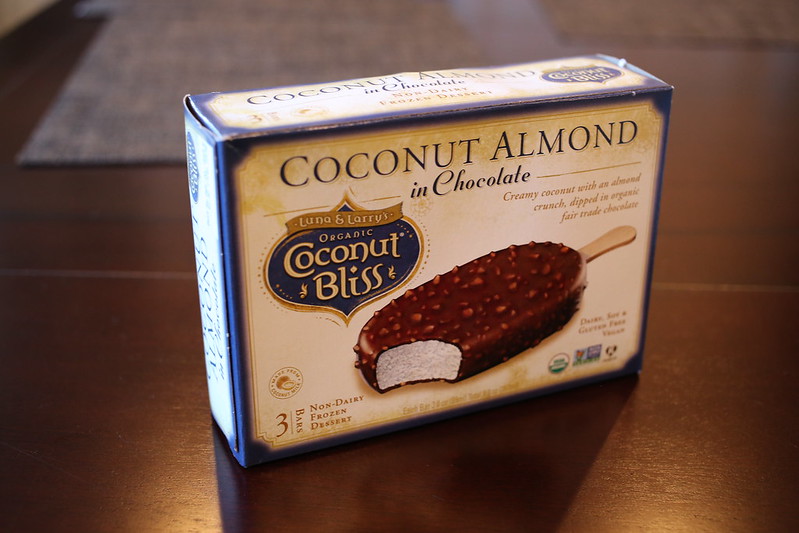
Ice cream bars: Coconut Almond in Chocolate by Coconut Bliss
If you're looking for a good ice cream bar and you don't mind "going coconut", these are a delicious option! The nutty chocolate coating is delicious, and the coconut ice cream interior is rich and creamy. This company makes a variety of different ice creams. The coconut milk makes for a very rich ice cream, but with a relatively strong coconut flavor. It works particularly nicely with their chocolate peanut butter ice cream.
That sums up my ice cream round up for now. But there are plenty of other options--and more being introduced all the time! Ben and Jerry's has several vegan options in their line which I have yet to try. Do you have a favorite vegan ice cream? Let me know in the comments!
Sunday, October 1, 2017
Risotto (i.e. Vegan MoFo, Day 1)
It's Vegan MoFo! After a hiatus last year, I'm back in full swing, looking forward to sharing some recipes--new and old--with you all.
Today we're talking about giving a standard veggie option--like a risotto--a little makeover. My friend Sarah (who has her own cooking blog) made an amazing risotto for us a few months back that I haven't been able to stop thinking about. Her version included sautéed mushrooms, asparagus, and green peas. When I asked her for the recipe, she mentioned that for fall a little roasted butternut squash is the perfect addition. Which got my wheels turning...
A few weeks ago, my stepmom (who also happens to be a fantastic cook) made us a delicious pasta which had--you guessed it!--roasted squash. As well as artichoke hearts. Delicious! So I thought I'd spice things up a bit with those additions, as well as the mushrooms.
I'd actually never made risotto before. It was one of those recipes that I figured was too time consuming and difficult to tackle--but after Sarah's risotto, I realized it would be well worth it.
And? I discovered it's actually not as hard as you may think! You've just got to be ready to stir--for about 20 minutes straight. So the real trick is to just have everything entirely prepped before you get going.
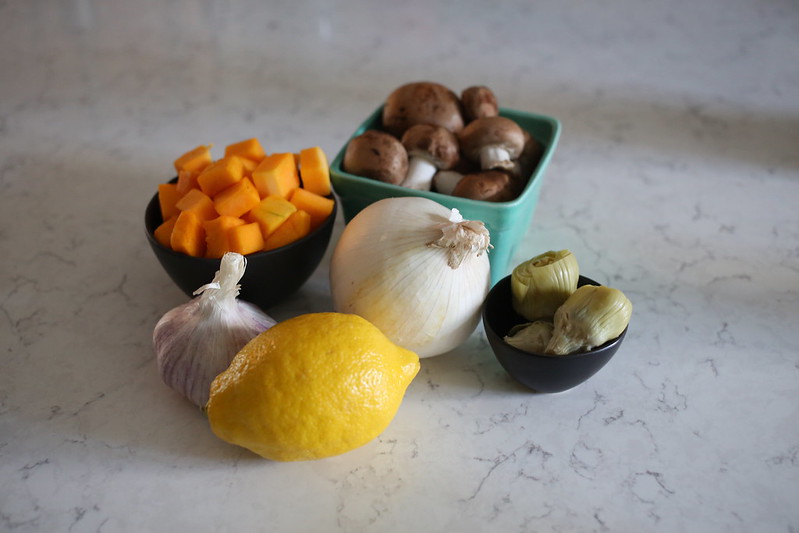
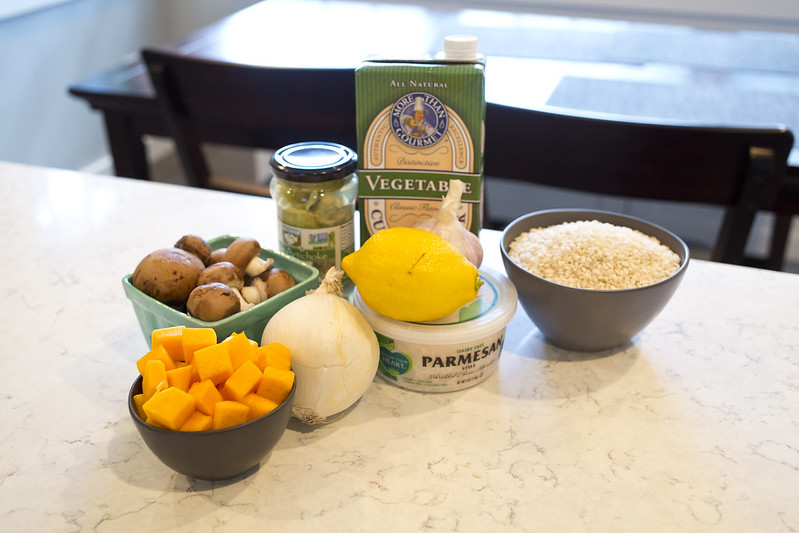
What You'll Need:
Artichoke hearts (jarred or canned), chopped into 1/2-inch pieces
8 oz mushrooms (whatever type you like, such as cremini, I used Baby bellas)
Approximately one butternut squash, cut into 1/2-inch cubes
Zest from 1/2 lemon
1 small onion, diced
4 cloves garlic, minced
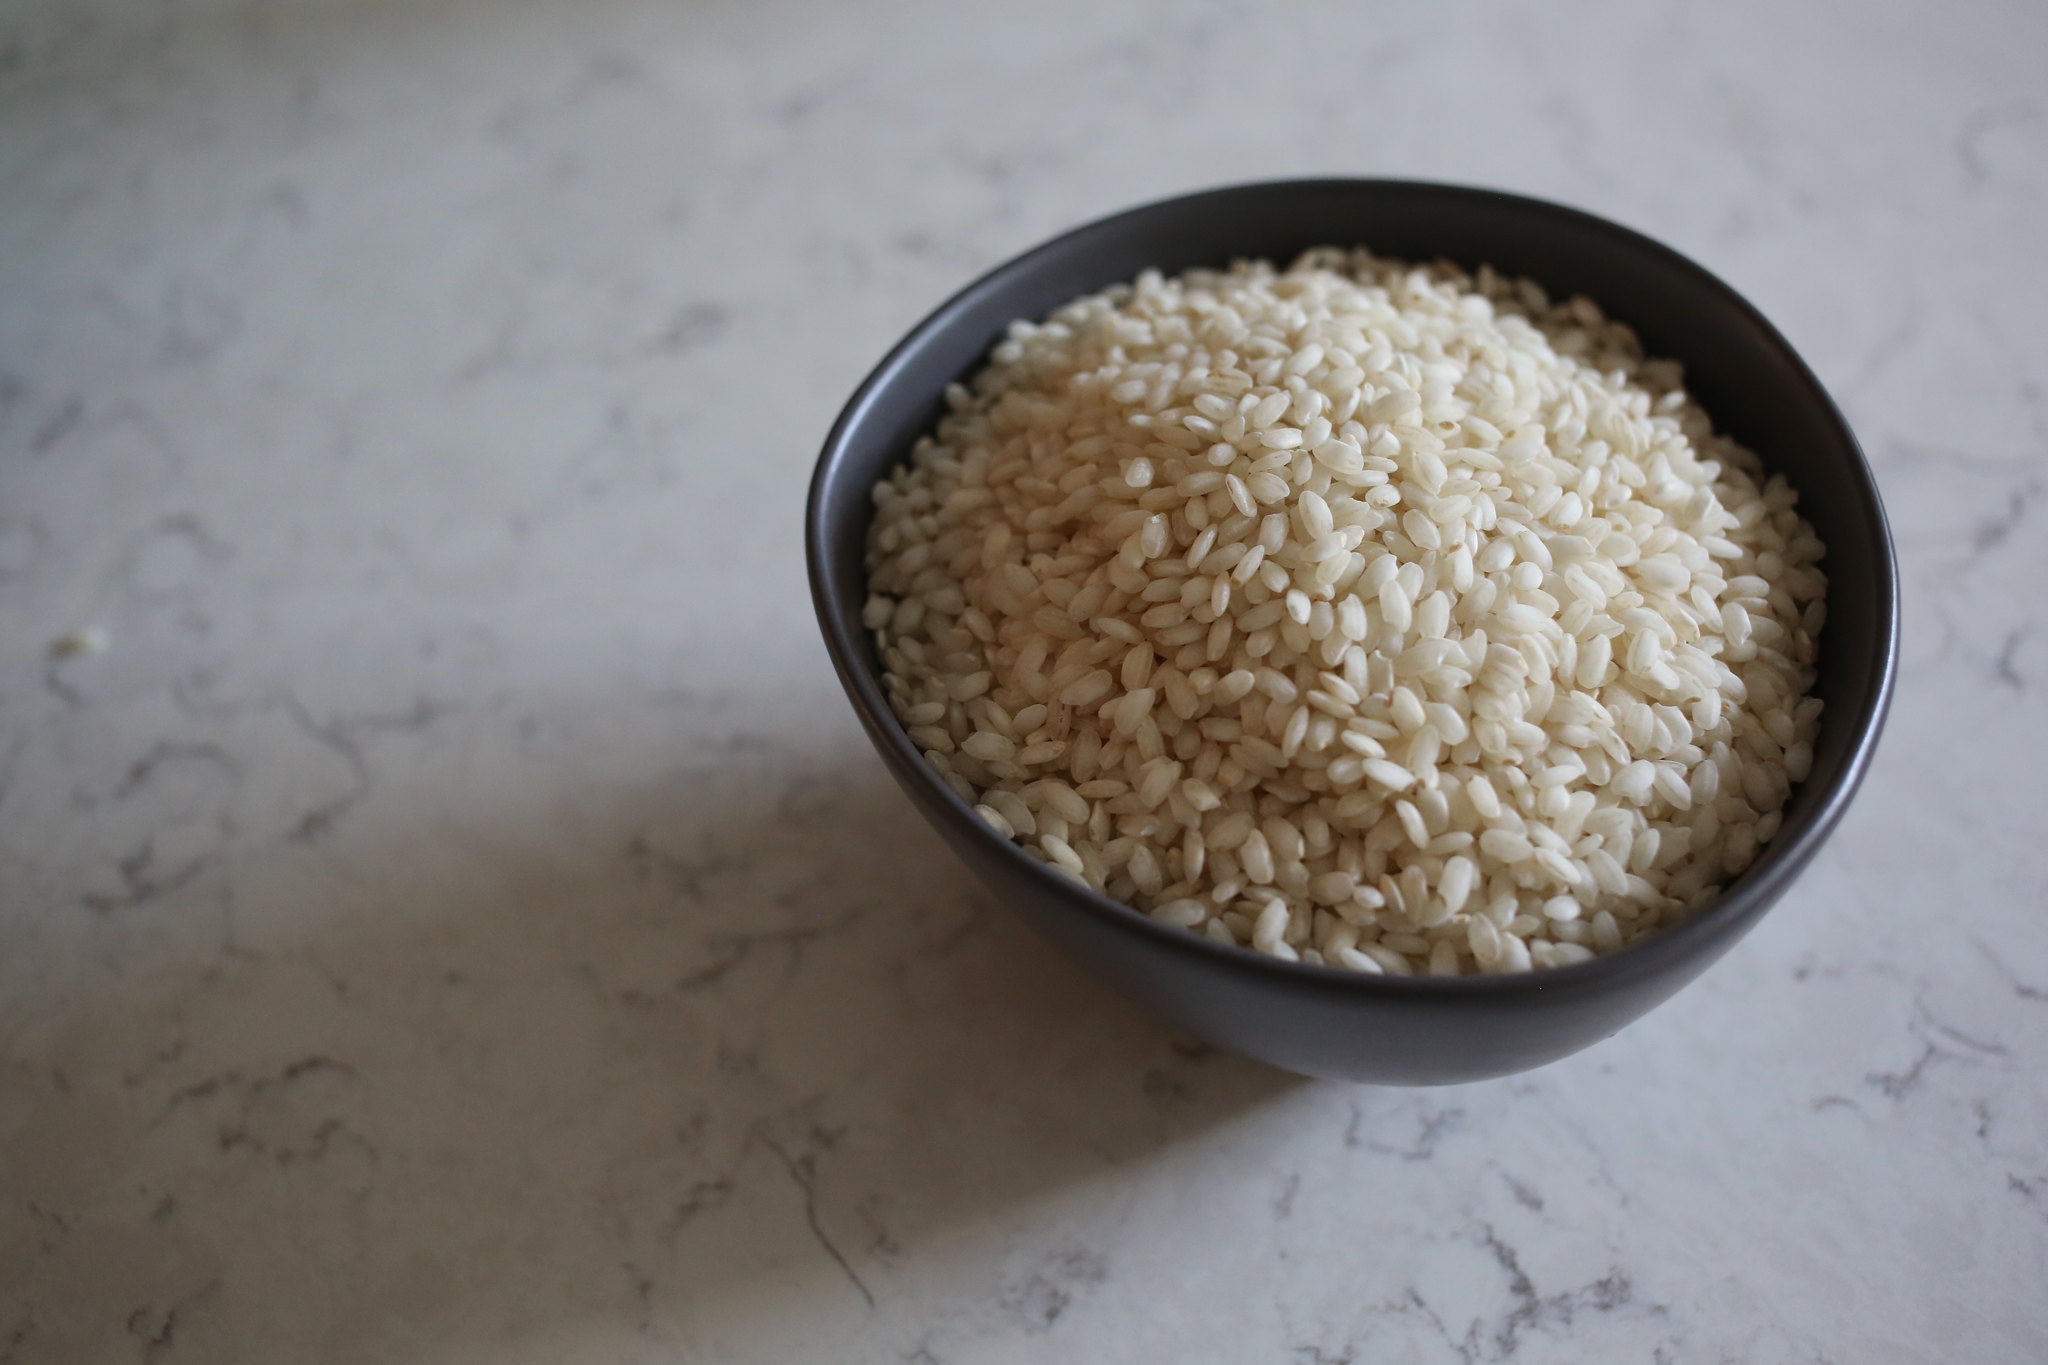
1 1/2 cups arborio rice
1/3 cup white wine
6-8 cups vegetable stock
1-2 tablespoons butter
1 cup Vegan Parmesan cheese (optional)
What You'll Need to Do:
Preheat oven to 425F. Get that squash roasting. Toss with 2 tbsp olive oil and approximately half the garlic (two cloves), then spread on a sheet pan (I like to cover my pan with baking parchment for no-mess cleanup later). Roast for approximately 20 minutes--you want the squash to be slightly chewy and tender but not mushy.
Meanwhile, sauté the mushrooms in olive oil until they've released their moisture (about 5-7 minutes). Season with salt and pepper, then add in artichoke hearts and butternut squash and mix to combine.
Okay! Ready? You're going to take your onion and saute it in the margarine until soft and translucent. Then add 1.5 cups risotto, and stir to roast rice for about 2 min (until the ends of the rice grains become translucent). Then deglaze your pan with 1/3 cup white wine.
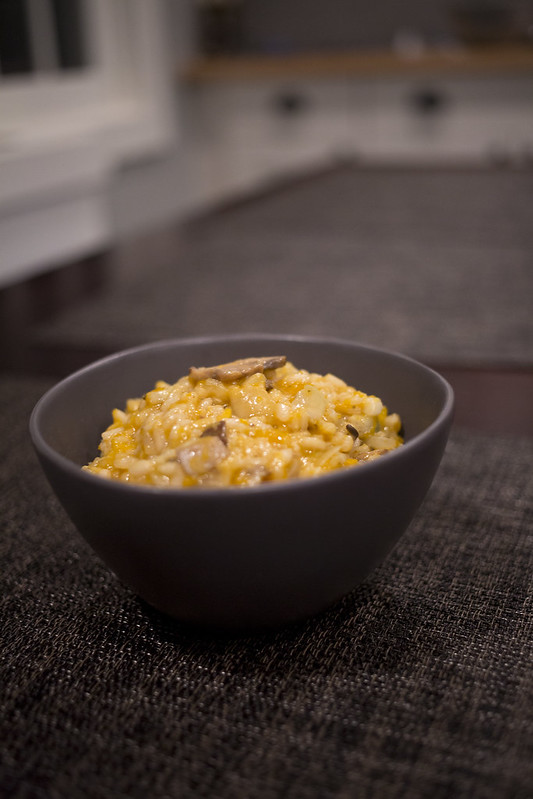
Slowly add about 6-8 cups of hot broth, 1 cup at a time, stirring constantly. You want to use enough liquid to just cook the rice and get it to a nice consistency, without being too thinned out or runny. You can begin tasting after about 12 minutes or so--it should be done after closer to 20 (up to 30). Once you've got that nice, rich risotto texture, add the veggies, then stir in your Parmesan, if using. Finally, finish off with zest, and serve immediately!
Subscribe to:
Posts (Atom)